| The pages
on this site are not meant to be a tutorial
for restoring your own gauges, they are here
to show the steps performed when you entrust
us with your restoration work.
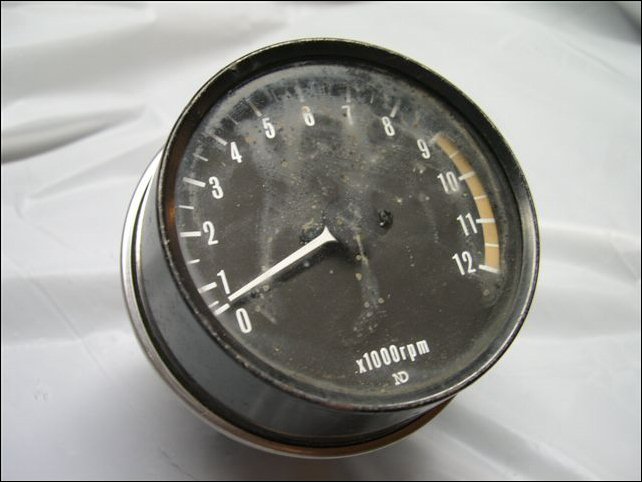
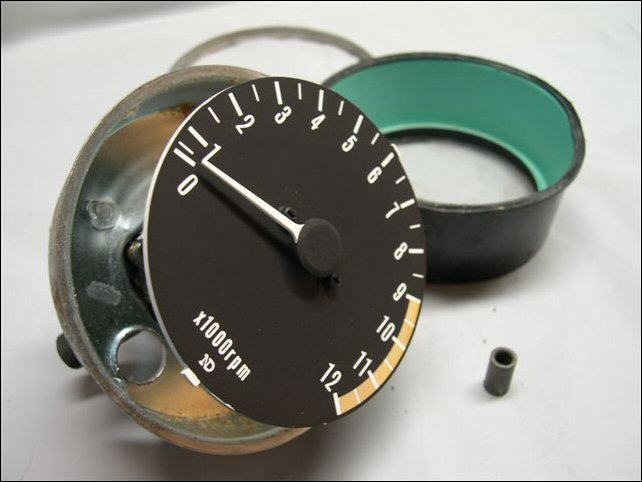
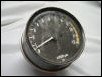 The first
pictures show what a typical gauge looks like
when we receive it. The first
pictures show what a typical gauge looks like
when we receive it.
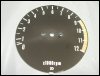
 The first
thing we do is visually inspect it for damage,
and then bench test it for accuracy. In this
example the lower base mount bolt is bent. The first
thing we do is visually inspect it for damage,
and then bench test it for accuracy. In this
example the lower base mount bolt is bent.
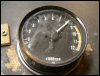 This 76 Kawasaki KZ900 A4 Tachometer
was tested at two different RPM’s and is accurate.
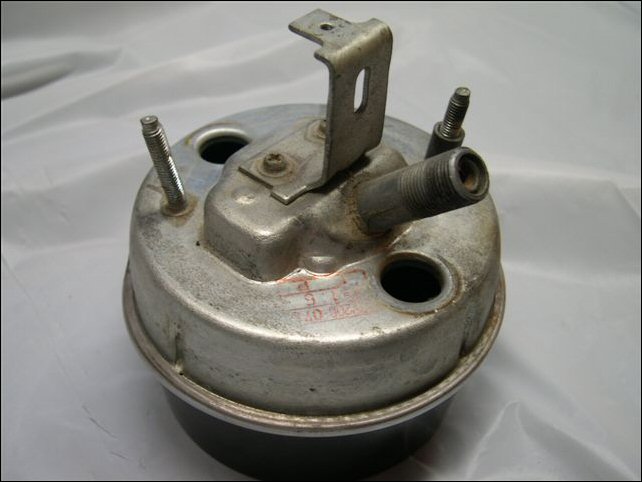
Next step is to remove the stainless steel connector
ring, and split the two halves. This 76 Kawasaki KZ900 A4 Tachometer
was tested at two different RPM’s and is accurate.
Next step is to remove the stainless steel connector
ring, and split the two halves.
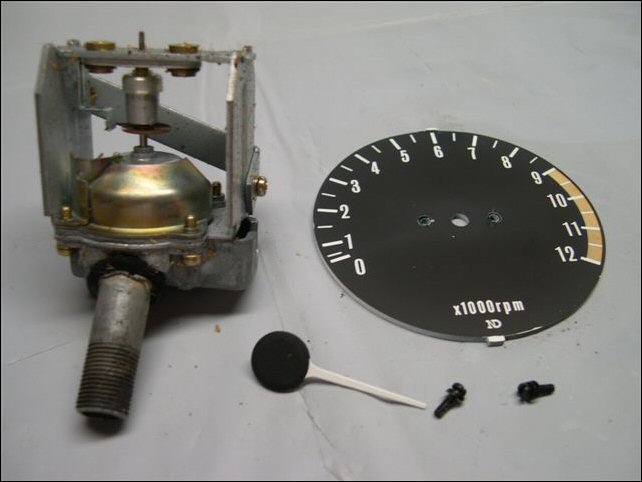
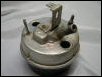
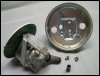  This Tachometer is dented on
the lower base mount and the inner and outer
cones are dented also. All three require replacement. This Tachometer is dented on
the lower base mount and the inner and outer
cones are dented also. All three require replacement.
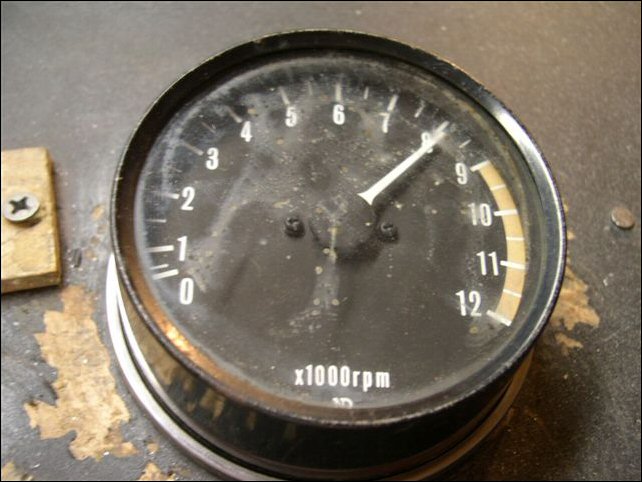
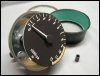
 Next we remove the needle and
the faceplate. Next we remove the needle and
the faceplate.
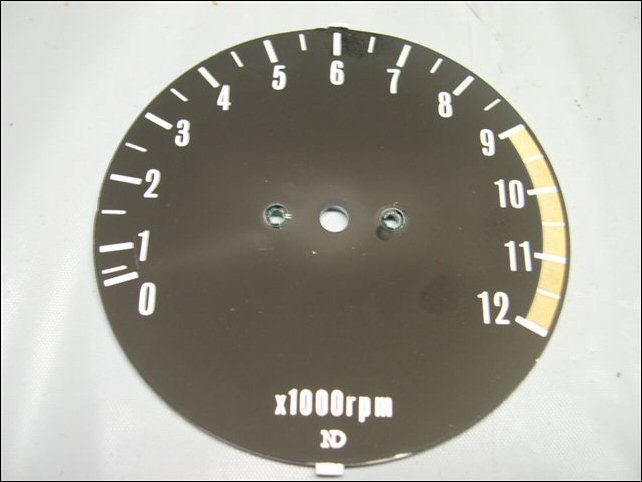
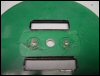
 Here we note that although the
faceplate is faded, and has paint chipped away
from the two mounting screws, it can be restored
to look new. Careful inspection is given to
the underneath of the faceplate, in search of
cracks. Here we note that although the
faceplate is faded, and has paint chipped away
from the two mounting screws, it can be restored
to look new. Careful inspection is given to
the underneath of the faceplate, in search of
cracks.
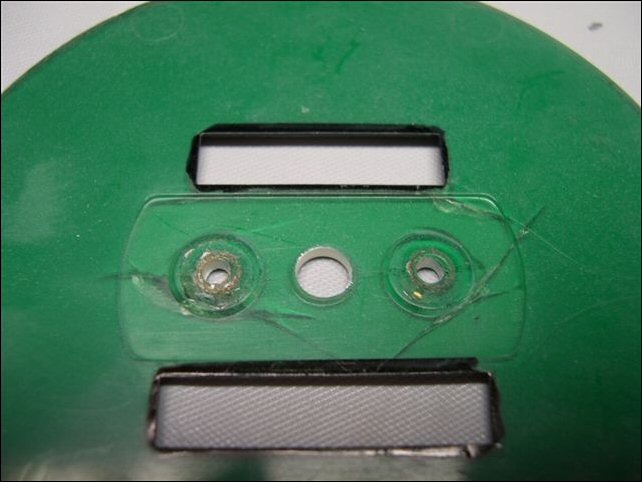
 As you can see by another example,
the cracks on the top side of the Kawasaki Z1
faceplate are barely noticeable. As you can see by another example,
the cracks on the top side of the Kawasaki Z1
faceplate are barely noticeable.
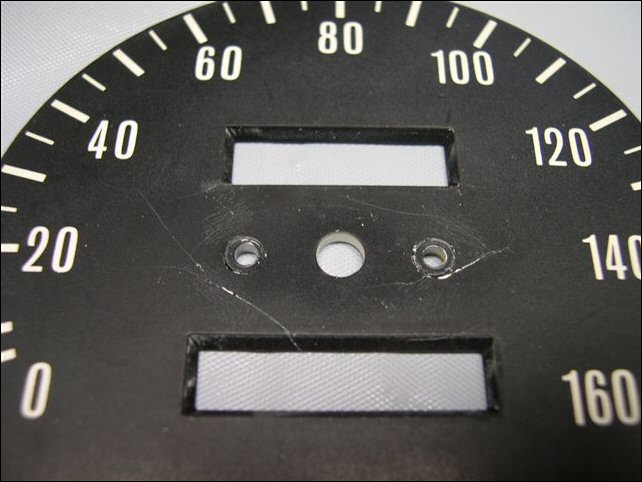
 However when turned over, they
are very apparent. Faceplates that are cracked
this way cannot be used. They will fail in short
order. However when turned over, they
are very apparent. Faceplates that are cracked
this way cannot be used. They will fail in short
order.
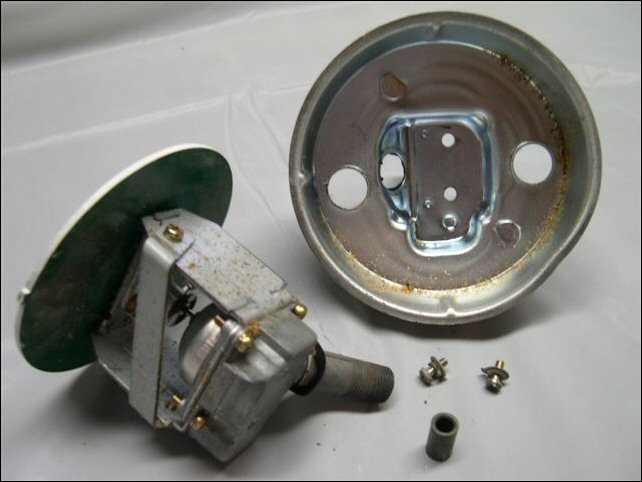
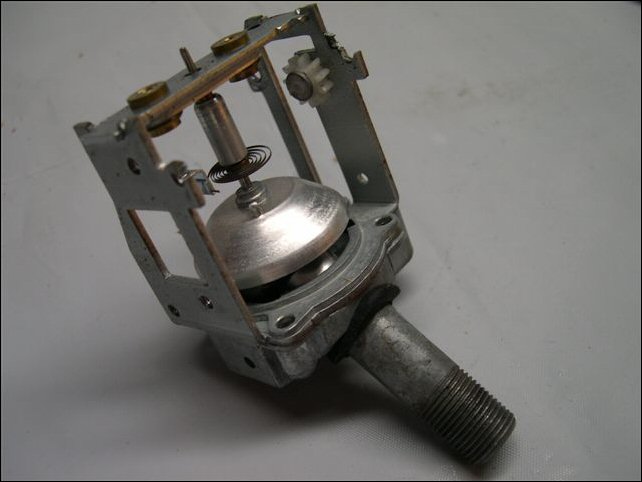
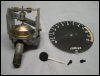
The following
picture shows a stripped down drive unit.
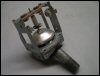 Notice the round cylinder directly
atop the spring. This is the internal ‘damper".
If your gauge has a needle that "wanders",...at
speed or RPM, and your cables are good,....this
is the culprit. The damper itself holds oil,
and cannot be fixed, unless this whole drive
unit is replaced with one that works properly. Notice the round cylinder directly
atop the spring. This is the internal ‘damper".
If your gauge has a needle that "wanders",...at
speed or RPM, and your cables are good,....this
is the culprit. The damper itself holds oil,
and cannot be fixed, unless this whole drive
unit is replaced with one that works properly.
Click to read more
on gauge restoration
|